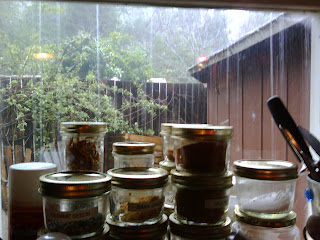
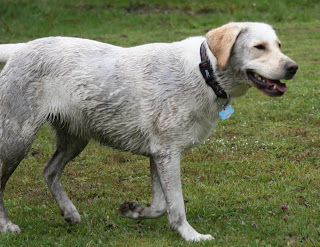
Rain, rain, rain and more rain... have we not had enough yet... After taking our Labrador girls out and accomplishing some errands this morning, all four of us come home soaked and muddy. After drying our girls off and have changed into clean, dry clothes it is time to make it more warm and cozy indoors - What a perfect time for baking.

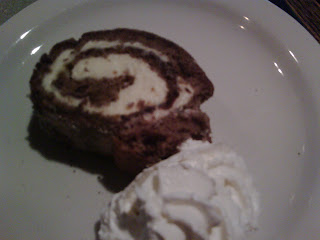
My husband suggests making a Quiche, which would be perfect for the ground beef I bought the other day. I am thinking of serving a creamy pasta salad with the Quiche and some crisp greens on the side. One of our servers at work had a birthday yesterday, so with the oven already warming up, I also decide to make a Chocolate Butter Cream Roll (see recipe below) to bring for work tonight.
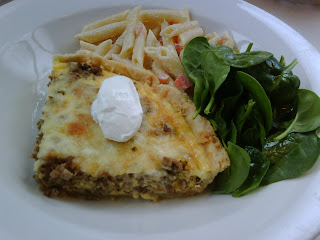
 Quiche with Ground Beef
Serving 4-6 people
Ingredients for crust:
1 1/2 Cup All Purpose Flour
125 g Unsalted Butter, cold and cubed
2 Tbsp Water, ice cold
Ingredients for filling:
1 lbs ground beef
2 Tbsp Dried Granulated Onion or Fresh Red Onion
2 tsp Fresh Garlic, grated
2 tsp Italian Seasoning
2 tsp Paprika Powder
1 tsp Fine Sea Salt
4 Egg
1 Cup Half and Half ( 50% whole milk+50% Heavy Cream)
1/2 tsp Sea Salt
1 Cup Flavorful Cheese, like Jalopeno Cheese, Sharp Cheddar or Gruyere Cheese.
Directions:
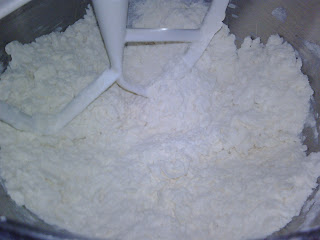
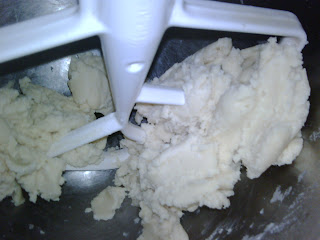
1. Cut butter into flour with a fork or with the paddle in your mixer. Mix until you have a sandy texture, the key is to keep the butter as cold as possible so it flakes apart and does not melt.
2. Add cold water and mix just until it comes together as a dough. Shape dough to a thick round cake and refrigerate minimum 20-30 minutes.
3. Turn oven to 400 degrees Fahrenheit.
4. Sauté ground beef in vegetable oil on high heat, to all is brown. Add onion, garlic, herbs, spices and salt cook for a few more minutes and set a side to cool.
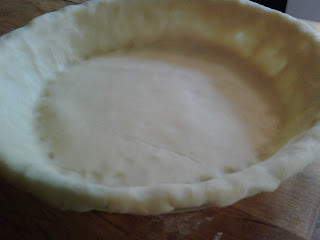
5. Take out cold dough on to a light floured surface, roll dough out to a flat round, three-four inches wider than the pie pan you are using for your Quiche.


6. Spray your pie pan and shape dough into pan while letting the dough wrap around the edge to hold it up. This dough is flaky and crusty, so it cracks less if it is even.
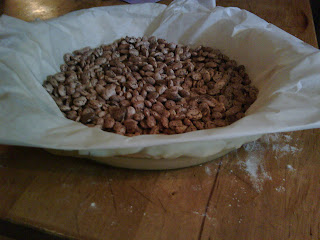
7. Place a parchment paper to cover dough and fill bottom with beans, to keep dough from cracking when pre-baking it. Remove paper and beans after baking pie shell for 10 minutes.
8. Mix egg, cream and salt for Quiche batter.
9. Place beef mix inside pie shells, top with grated cheese and pour batter over and bake again for 30-40 minutes or until center is moist but not wet.


10. Let sit on a rack for at least 10 minutes before cutting and serving.
Pasta Salad Serving 6-8 people
Ingredients:
3 Cups Pasta
1/4 Cup Carrot, small diced
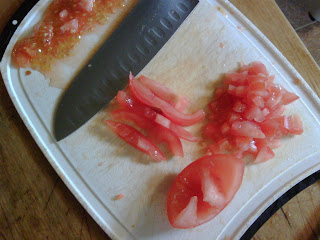
3-4 Tbsp Tomato, small diced (no seeds or tomato water)
2-3 Tbsp Pepperoncini, finely chopped
1/2 Cup Mayonnaise
2 tsp Dijon Mustard
1 tsp Rice Wine Vinegar or White Wine Vinegar
1 1/2 tsp Ground Black Pepper
1/2 tsp Fine Sea Salt
Directions:
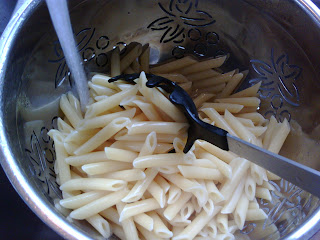
1. Bring 4 Cups of water to a boil. Add pasta and cook until al dente (firm to the bite bit not hard.) Drain and cool pasta immediately under cold running water.
2. Cut your vegetables and mix with your pasta in a big mixing bowl.

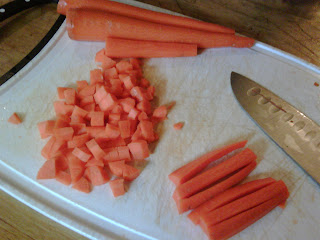 My girls loves carrots too!

2. Mix mayonnaise with vinegar, mustard, pepper and salt into a dressing in a separate bowl. Add enough dressing to coat pasta salad, mix well, cover and refrigerate until it is time to serve.

Chocolate Butter Cream RollServing 6-8 people
Ingredients for Batter:
3 egg
2/3 Cup Granulated Sugar
1 tsp Baking Powder
2 Tbsp Cocoa
1/3 Cup Cornstarch
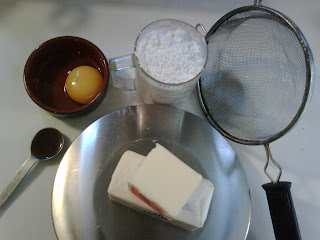
Ingredients for Butter Cream:
150 g Unsalted Butter (1 1/3 stick), soft
1 Cup Powder Sugar
1 Egg Yolk (is served raw and can be excluded if needed)
1 tsp Vanilla Extract
Directions:
1. Turn oven on to 400 degree Fahrenheit.
2.Whip egg and sugar fluffy for batter.

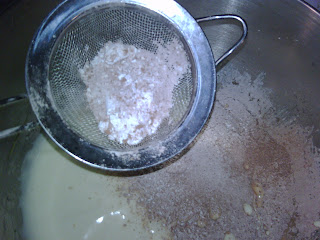
3. Mix dry ingredients separately and sift into bowl with egg mix and fold it in with a spatula carefully until smooth.

4. Spray a sheet pan, cover with parchment paper and spray again. Pour in batter and even it out with the spatula.
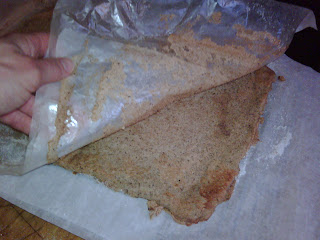
5. Bake for 5-8 minutes until center is dry. Take cake out and put on cooling rack.


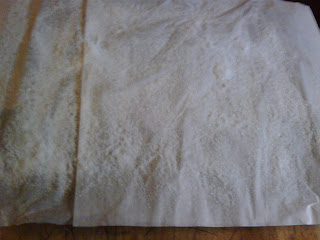
6. Take another parchment paper and sprinkle granulated sugar over. Flip warm cake on top of sprinkled sugar and peel off parchment paper from the bottom of the cake. Leave to cool completely.
7. Whip soft butter, add egg yolk and vanilla. Sift in powder sugar into butter mix and whip until smooth and spreadable.

8. Distribute butter cream evenly on to cake bottom with a spatula or knife.
9. With the help of the parchment paper under cake, roll the rectangle shaped cake from the wide side to the other.

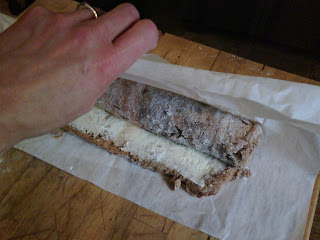
10. Refrigerate before serving. Cut nice thick slices of roll and serve plain or with a little whipped cream.


